TV Reprogramming Guide
How to auto-program your CAS Cable for your specific TV
Download a printable PDF of this guide
The terminology for re-scanning differs somewhat across manufacturers. Re-scanning may also be referred to as auto-tuning, channel set-up, channel scan, channel search, auto-scan, auto-program, or other terminology, depending on your TV make and model. While the terminology may differ, the process for re-scanning is fairly simple. Consult your TV or converter box owner’s manual, or visit the manufacturer’s website for instructions and customer service contact information. If you find this guide unhelpful or you can’t locate the user manual for your TV or converter box, or you still have issues with your service after reprogramming, please give us a call at (304) 420-2470.
Adding HD Channels to VIZIO
With your VIZIO remote, make sure you have the “TV” input selected and press the input button.
Press the MENU button, and the TV’s menu should appear. Using the arrow keys (the keys surrounding the “OK”,“Menu” or “Logo” button on the remote) navigate until you find the “TV TUNER MENU”.
Use the arrow keys to highlight “Tuner Mode”, which should be the first option on the menu. Select cable (for any cable or coaxial connection).
Once the option is highlighted, you should be able to change it using the arrows. Once you confirm that the Tuner Mode is set correctly, highlight the “Auto Search” option, press the right arrow and your TV will scan for all available channels. Let it finish completely. The scan usually takes 5-10 minutes.
Once the scan is complete, you should be able to surf channels normally with the HD channels available as well.
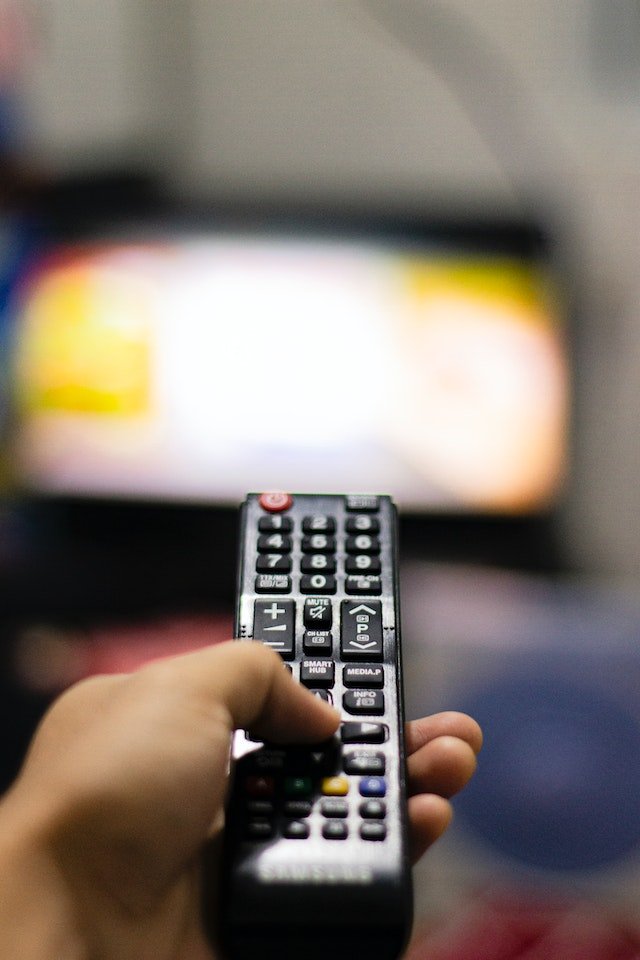
Adding HD Channels to Samsung
Open the TV’s menu and select “Channel Setup” or “Channels.”
Select the “Auto Store” or “Automatic Scan” option by scrolling with the channel buttons. Press the “Enter” button to begin the scan. The TV will scan for all available channels including HD.
Once complete, the HD channels should be available.
Adding HD Channels to LG
Press “Menu” on the remote control/TV set.
Select “Setup” on the menu and press OK.
Select “Auto-Tuning” and press OK.
Select “Start” and then press OK.
The television will begin to search all available bands for channels.
You don’t have to choose if you are using cable or antenna because the TV searches for both OTA analog and digital signals.
Adding HD Channels to Sony
Press “Menu” on the remote control/TV set.
Select “Setup” on the menu and press OK.
Press ENTER and you should see an option to scan the available channels for cable.
Select “Start” and then press OK.
Once completed, the HD channels should be present.
Adding HD Channels to Westinghouse
Find the model number of your TV. It should be on the back of your TV set. One tuner should work and the other shouldn’t.
There are two tuners: QAM and ATSC.
Select QAM
If you don’t have the QAM tuner, you will need to use a digital converter.
If you have the correct tuner, go to the menu on the TV set and choose “Cable/Antenna” set up. Select cable.
After making the correct selection, there should be a menu function for channel auto-scan.
Select “Auto-Scan”, which will send the set into auto channel mode. 1. This could take up to 30 minutes.
Once completed, the auto-scan message goes away and the HD channels should be present.
Other Manufacturers
On your TV or TV remote press the “menu” button.
Look for an option labeled “TV Tuner menu”, “Auto-tuning”, “Auto Scan”, “Channel Program”, “Re-scan”, or something similar. If none are present, proceed to the next step.
If there is no channel scan or similar option, look for a menu labeled “Channel”, “Channel Setup”, “Settings”, “Tools”, or similar and check there.
Once you are in the channel scan menu, it may give you a couple different options.
Make sure to select “Cable” or “QAM” if the option is given.
Choose “Standard” or “STD” if the option is given.
Now select “Search”, “Scan”, “Start”, or similar to begin the channel scan.
The process may take up to 20 minutes to complete.
If these instructions don’t work for your TV, check your owners manual for detailed instructions that are specific to your TV. If you don’t have the manual, grab the model number off the back of your TV and check the manufactures website for a downloadable manual.
If you’re still having issues with your cable service after performing a channel scan, contact us at (304) 420-2470 and one of our local customer service representatives will help resolve the issue.